Starting charging of high-voltage battery
When charging using AC current, only use the charging cable supplied with the vehicle or a replacement cable recommended by Volvo.
The high-voltage battery is charged by connecting a charging cable between the vehicle and a 120/240 V outlet (alternating current) or charging station (mode 3).
Important
Note
Warning
- The charging cable must be grounded when in use. It is equipped with a cord with a grounding conductor and a grounding plug. The plug must be inserted into an appropriate outlet that is properly installed and grounded in accordance with all local codes and ordinances and is not damaged in any way.
- Children should be supervised when in the vicinity of the charging cable when it is plugged in.
- High voltage is present in your electric meter housing and power distribution service panel. Contact with high voltage can cause death or serious personal injury.
- Do not use the charging cable if it is damaged in any way. A damaged or malfunctioning charging cable may only be repaired by a workshop – an authorized Volvo workshop is recommended.
- Always position the charging cable so that it will not be driven over, stepped on, tripped over or otherwise damaged, or cause personal injury.
- Disconnect the charger from the wall outlet before cleaning it.
- Never connect the charging cable to an extension cord or a multiple plug socket.
- Do not use one or more adapters between the charging cable and the electric outlet.
- Do not use an external timer between the charging cable and the electrical outlet.
Also, refer to the manufacturer's instructions for using the charging cable and its components.
Important
Make sure that the 120/240 V outlet (AC, alternating current) has a power capacity sufficient for charging electric vehicles. If you are uncertain of the capacity, have the outlet checked by a licensed electrician. If you are unsure of the power capacity of the outlet, use the lowest amperage shown in the center display.
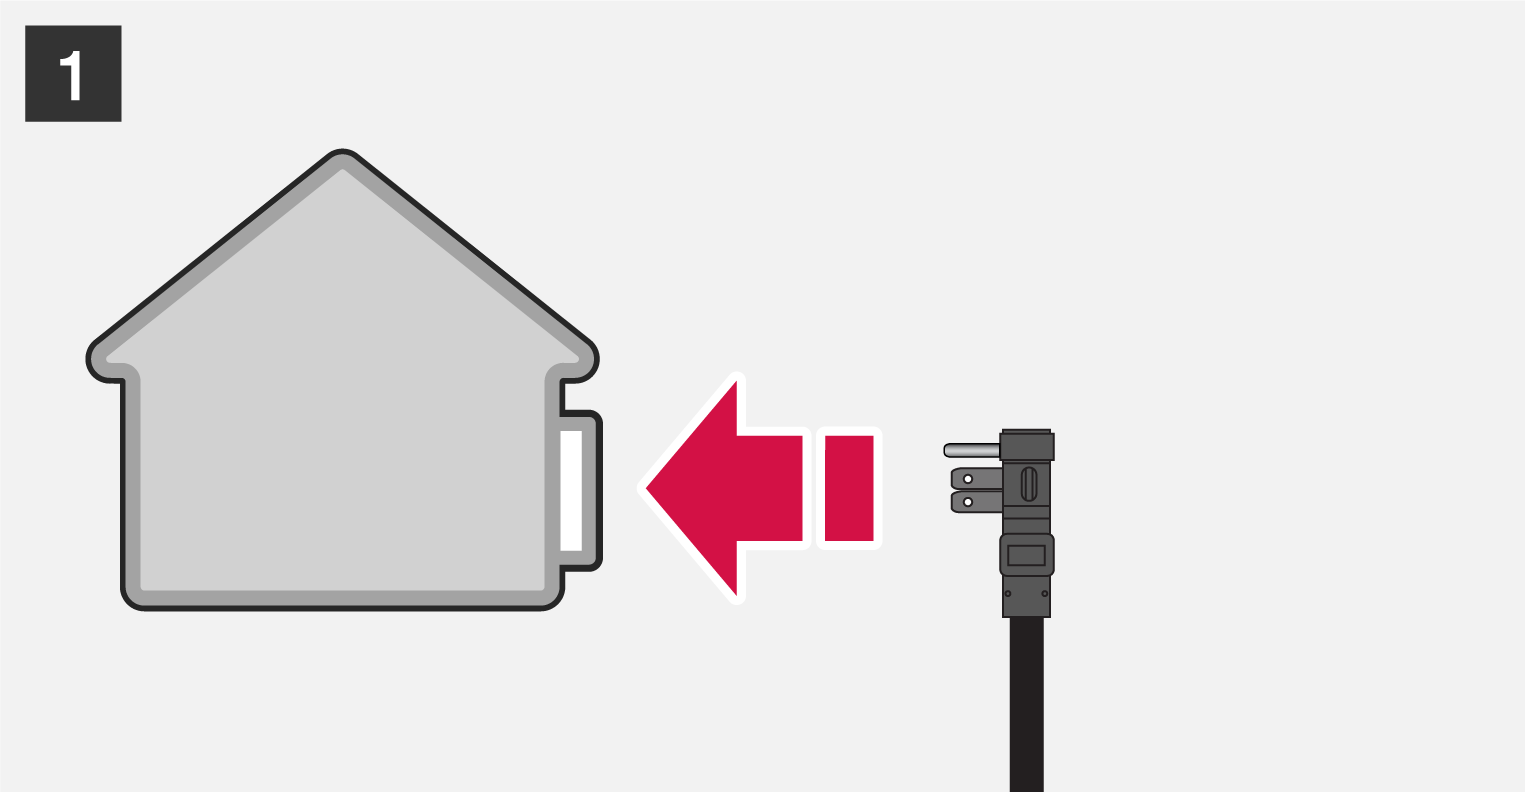

Plug the charging cable into a 120/240 V outlet. Never use an extension cord.
Set the correct charging current (for that 120/240 V outlet) in the center display.
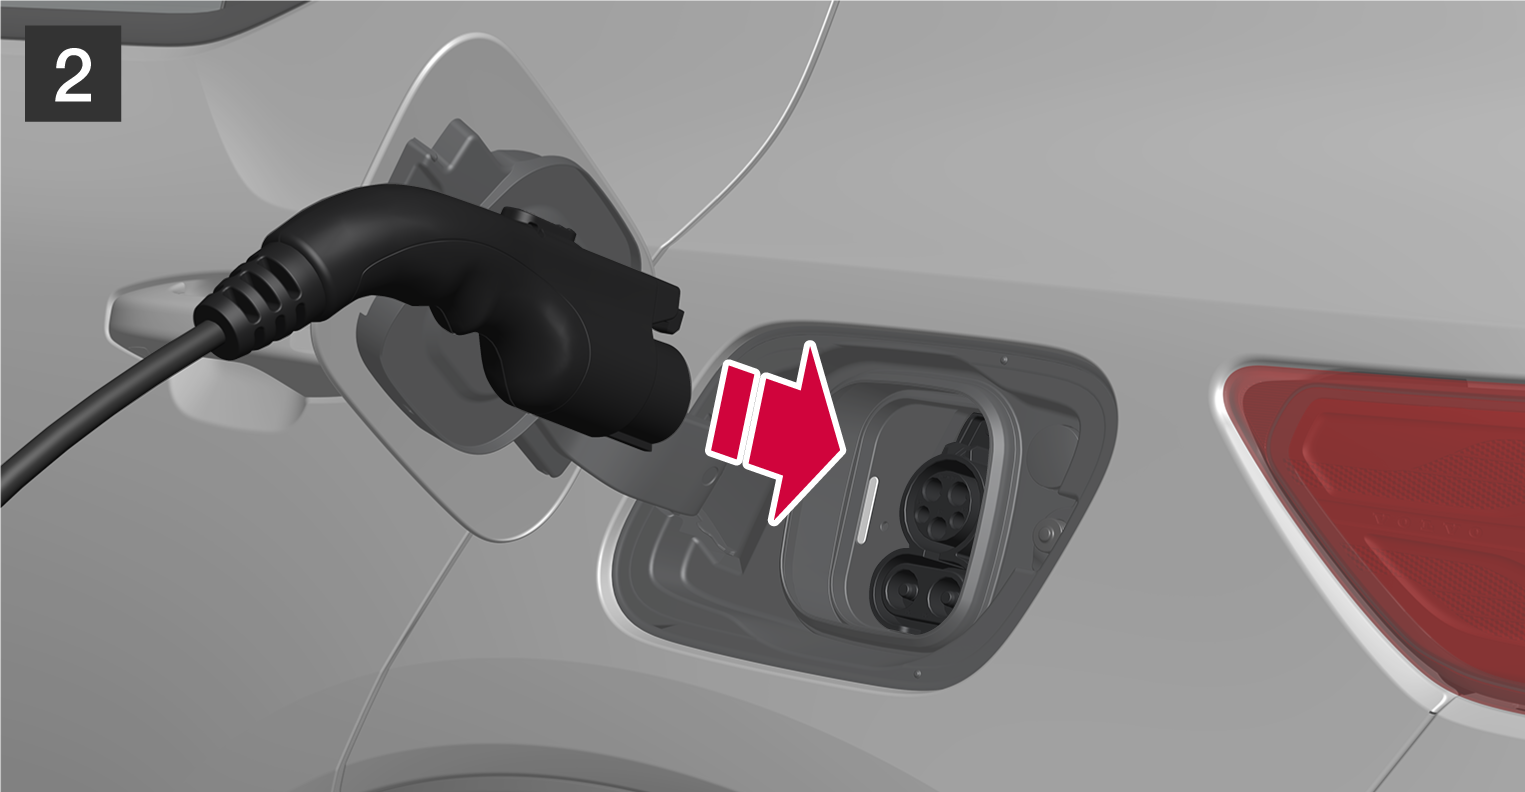

Open the charger door. Remove the charging cable's protective cover and make sure there are no objects in the charging socket that could prevent charging.
Then push the handle all the way into the vehicle's socket.
The charging cable handle will lock into place and charging will begin within 5 seconds. When charging starts, the green LED light in the charging socket will begin to flash. The approximate remaining charging time or the charging status will be displayed in the instrument panel and center display.
Battery charging can be temporarily interrupted by pressing the button near the charging socket. Charging will resume within a few minutes.
Important
Never detach the charging cable from the 120/240 V outlet (AC, alternating current) while charging is in progress – the 120/240 V outlet could be damaged in such circumstances. Always interrupt charging first and then disconnect the charging cable – first from the vehicle's charging socket and then from the 120/240 V outlet.
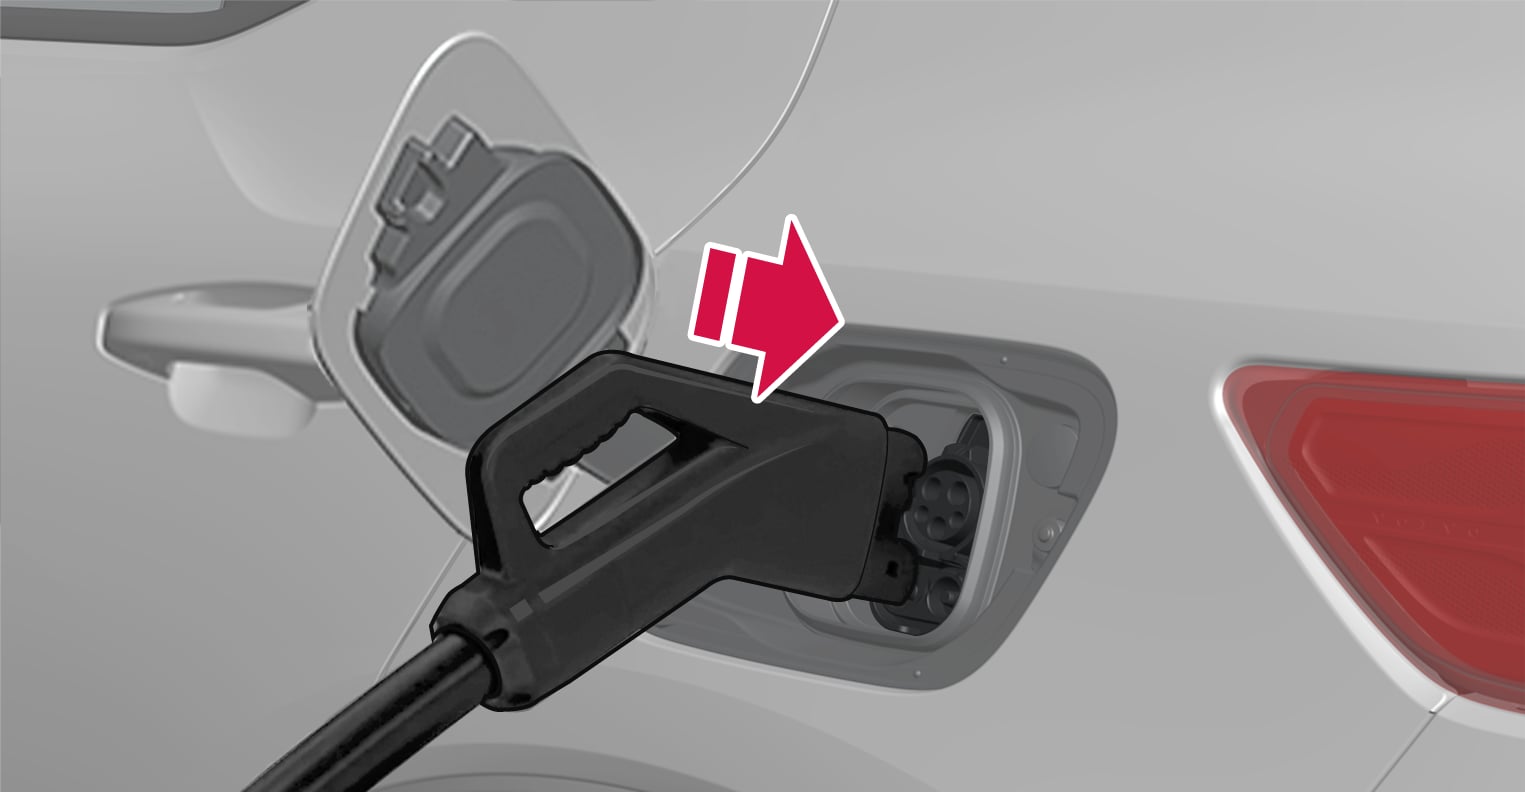
Rapid charging (direct current)
The vehicle's high-voltage battery can be charged quickly using DC power at charging stations supporting the CCS (Combined Charging System) standard.
Note
Rapid charging will not normally be interrupted if the vehicle is unlocked. Charging can be stopped by pressing the button next to the charging socket. Rapid charging cannot be resumed automatically if interrupted because the charging station will require reauthorization.