Adjusting Polestar Engineered* suspension settings
Location of adjustment knobs
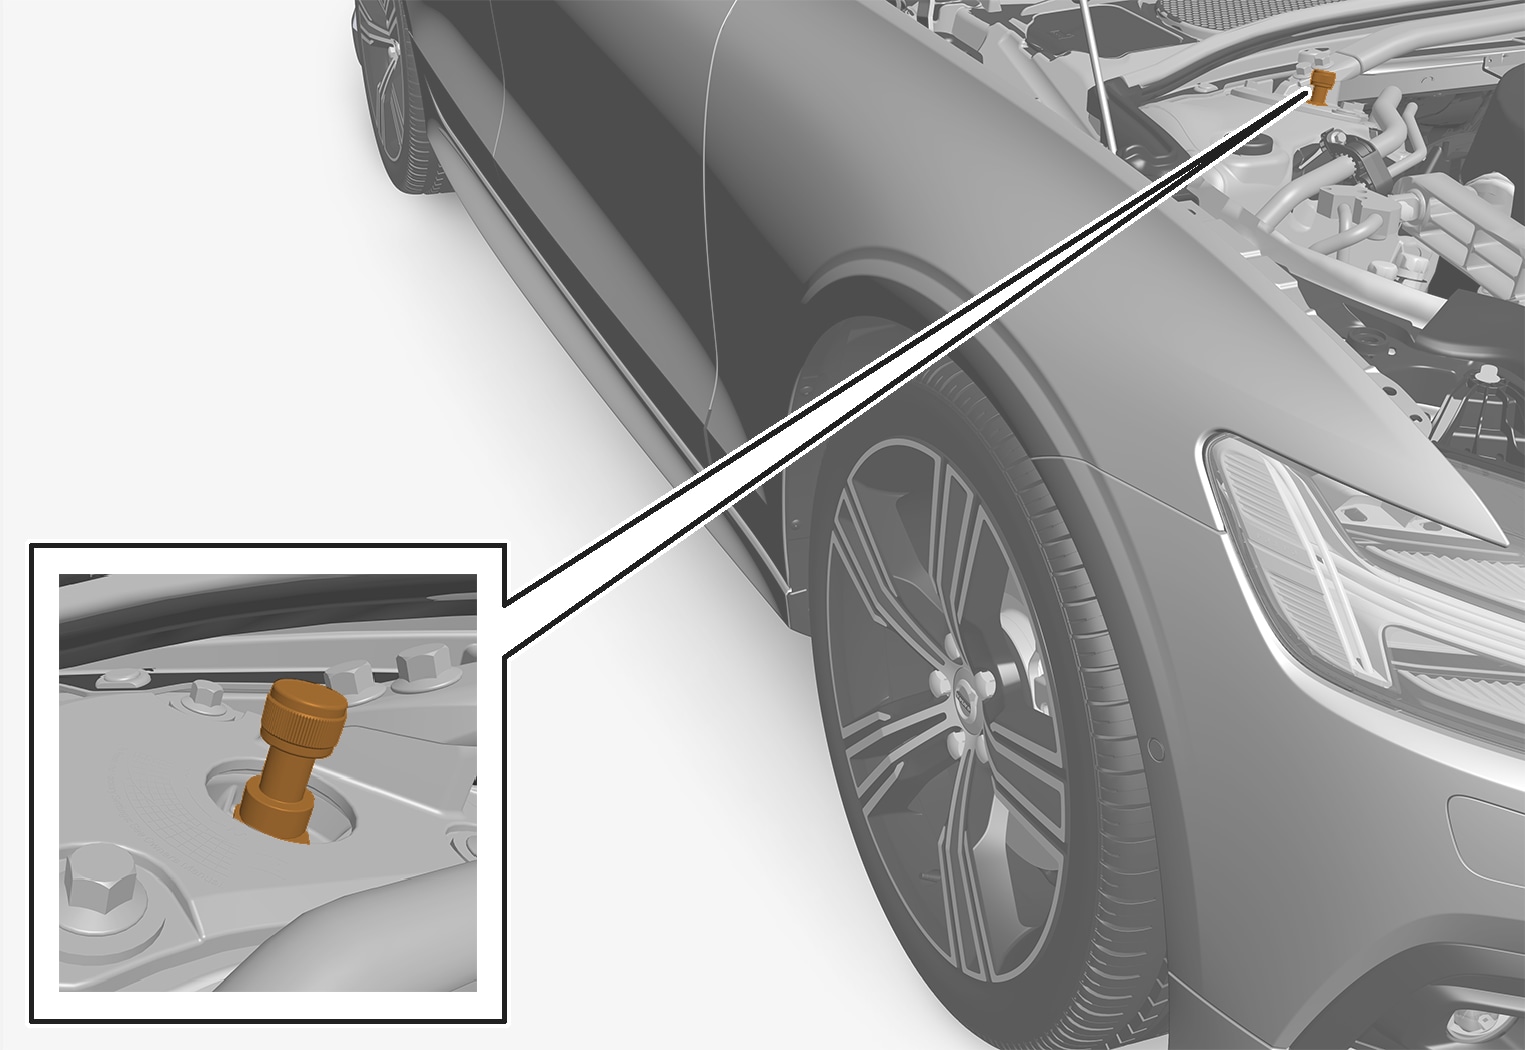
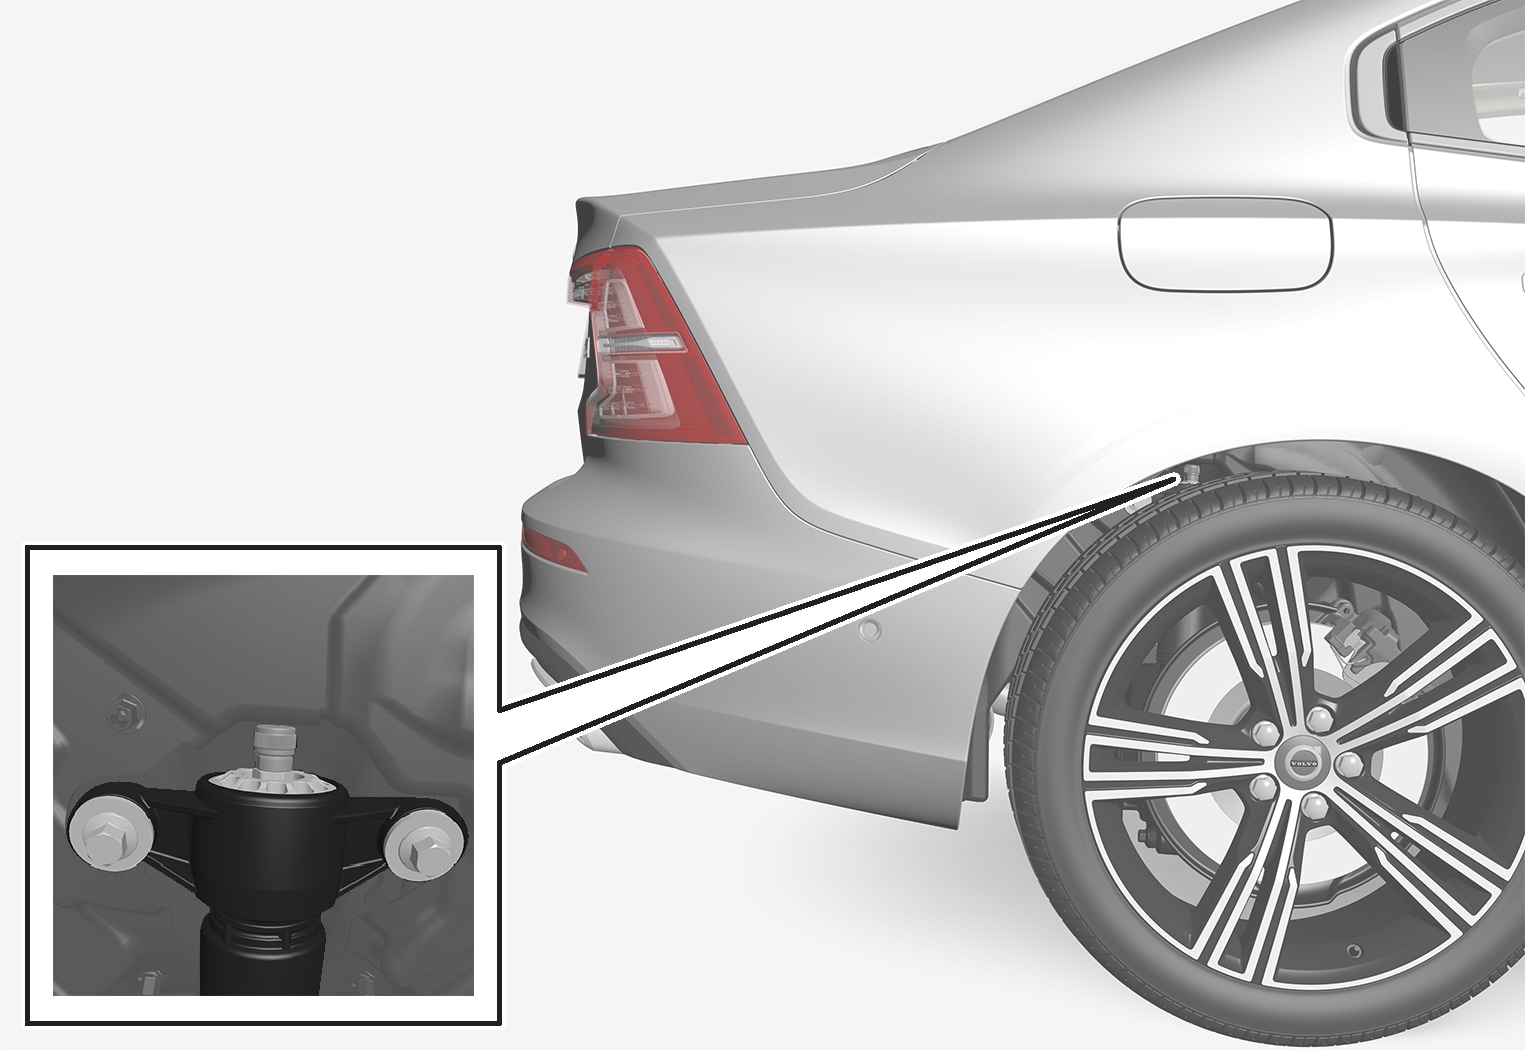
There are four adjustment knobs, two for the front shock absorbers and two for the rear. There are adjustment knobs above each wheel. The adjustment knobs for the front wheels are located under the hood. The adjustment knobs for the rear wheels are located above each wheel in the wheel housing.
Note
Adjusting front suspension settings
Make sure the adjustment knob is set to 0 before starting the adjustment. This makes it easier to determine what adjustment position is set.
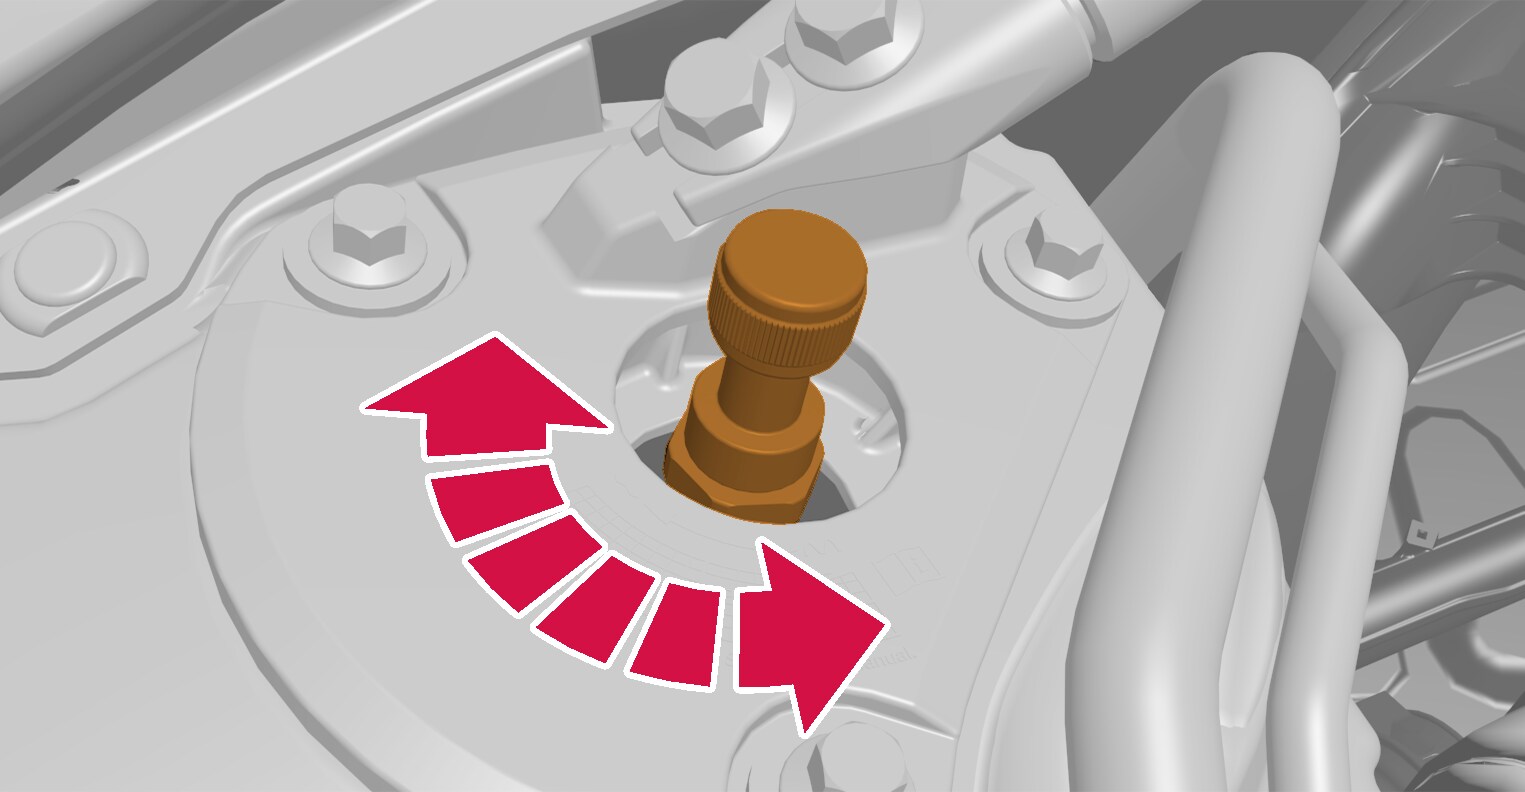

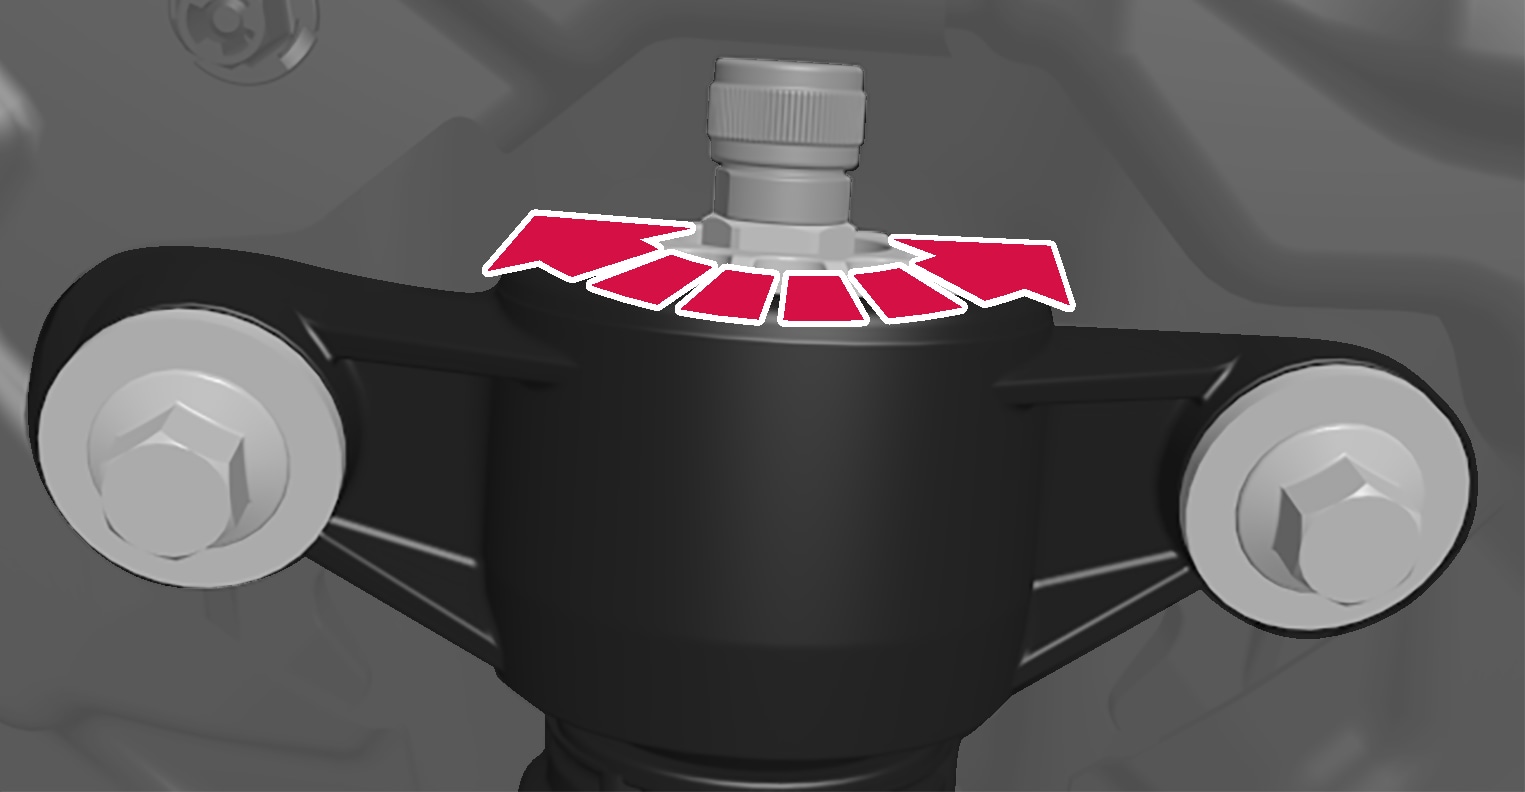
Turn the knob clockwise until it stops to get to adjustment position 0.

Turn the knob counterclockwise to the desired adjustment position. You should feel and hear a click each time the adjustment position is changed.
Adjusting rear suspension settings
The rear adjustment knobs are located above the tire inside the wheel housing. To access the rear adjustment knobs, the vehicle must be raised using a jack; see separate section.
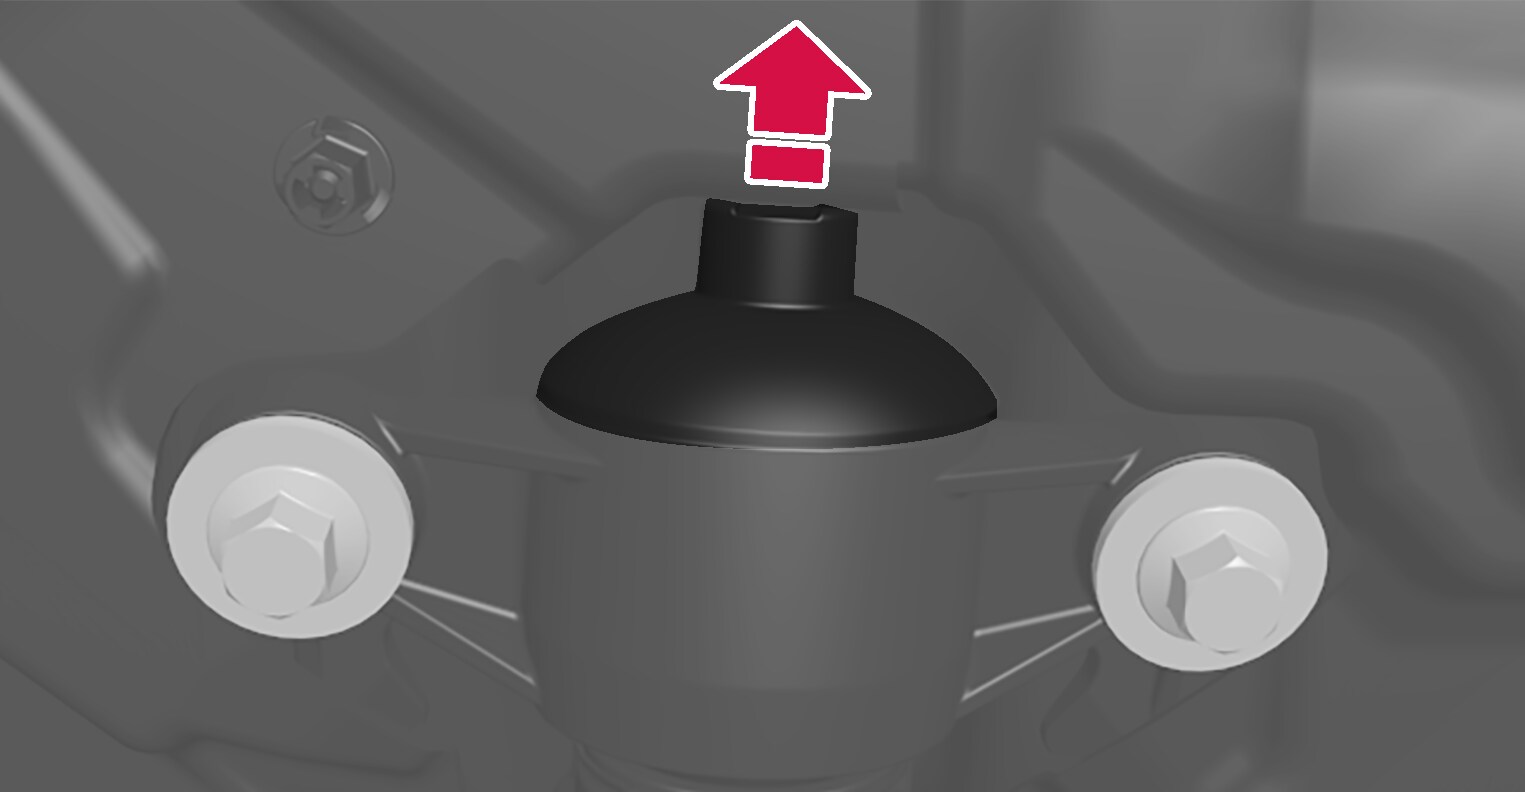
Remove the protective rubber cap over the adjustment knob.
Turn the knob clockwise until it stops to get to adjustment position 0.

Turn the adjustment knob counterclockwise to the desired adjustment position. You should feel and hear a click each time the adjustment position is changed.
Note
Recommended positions
| Position | Front | Rear |
| Performance mode | adjustment position 4 | adjustment position 4 |
| Dynamic mode | adjustment position 10 | adjustment position 10 |
| Comfort mode | adjustment position 15 | adjustment position 15 |